Trays make versatile decorating and organizing accessories. Used to corral objects in neat groupings, they can double as attractive serving pieces for entertaining. It’s easier than you may think to make your own, such as this rectangular lacquered tray with brass accents.
Step 1: Drill pocket holes in the plywood
Use a Kreg jig to drill pocket holes on the bottom side of the plywood. Drill three holes on each side of the rectangle — eyeball the spacing to be roughly centered, as in the image below. This will form the base of the tray.
Tip
- If you’re unfamiliar with a Kreg jig, watch a video tutorial on its use here.
Step 2: Cut the poplar boards
Use a miter saw to cut both the 1-by-2 and the 1-by-1 into two 21 1/2-inch pieces and two 10-inch pieces; use a tape measure to measure the lengths prior to cutting.
Step 3: Attach the sides to the bottom
Line up a 10-inch 1-by-1 along one of the short sides of the plywood rectangle. Use the electric screwdriver to drive pocket hole screws through the holes to attach the 1-by-2 to the plywood. Repeat with the other 10-inch 1-by-2 on the other short side and the 21 1/2-inch pieces on the longer sides.
Tip
- Make sure the pocket holes are oriented to be on the bottom when you attach the 1-by-2s to the plywood.
Step 4: Reinforce the corners with nails
To add extra strength, use a 1/16-drill bit to drill pilot holes in each corner where the 1-by-2 pieces meet; then hammer finishing nails through the holes to hold them together.
Step 5: Attach the 1-by-1s
Line up one of the 21 1/2-inch 1-by-1s along a 21 1/2-inch 1-by-2s. Drill 1/16-inch pilot holes and hammer finishing nails through to attach the 1-by-1 to the 1-by-2. Repeat with the other 21 1/2-inch 1-by-1.
Step 6: Drill holes for the pulls
Mark the center point on each 10-inch 1-by-1; then mark the locations of the holes for the screws that will attach the pulls to the 1-by-1s. Drill holes over the two marks large enough to accommodate the screws for the pulls. Also mark where the undersides of the screws will hit the 1-by-2s underneath, and drill shallow holes large enough to sink the heads of the screws into. This will ensure the 1-by-1s with the pulls attached sit flush against the 1-by-2s underneath once attached.
Tip
- To mark the locations for the shallow screw-head holes, drive the screws through the holes in the 1-by-1s, turn so the screw heads are face-down, and press firmly against the 1-by-2s. This should leave an indentation marking the locations for the shallow holes.
Step 7: Spray paint the tray pieces
Sand all the pieces thoroughly with fine-grit sandpaper; then spray all of the tray pieces with gloss spray paint. Three or four light coats are recommended for the best finish. Filling the pocket hole screws on the underside of the tray is optional, but, if desired, use wood filler to fill the holes; let them dry and sand before spray painting.
Step 8: Attach the pulls
Once the paint has dried completely, attach the pulls to the 10-inch 1-by-1s with the included screws.
Step 9: Attach the remaining side pieces
Drill 1/16-inch pilot holes through the 1-by-1s with the pulls attached; line them up over the 1-by-2s with shallow holes drilled, and hammer finishing nails through the pilot holes to attach the 1-by-1s to the 1-by-2s. Dab a white paint pen on the nailheads to blend them into the rest of the tray.
Tip
- Make sure the screw heads on the undersides of the 1-by-1s sit inside the shallow holes in the 1-by-2s to ensure a tight fit.
Step 10: Attach the brass corners
Mark the locations of the holes for the brass corners and use a 1/16-inch drill bit to drill the pilot holes. Attach the brass corners to the corners of the tray with the included screws.
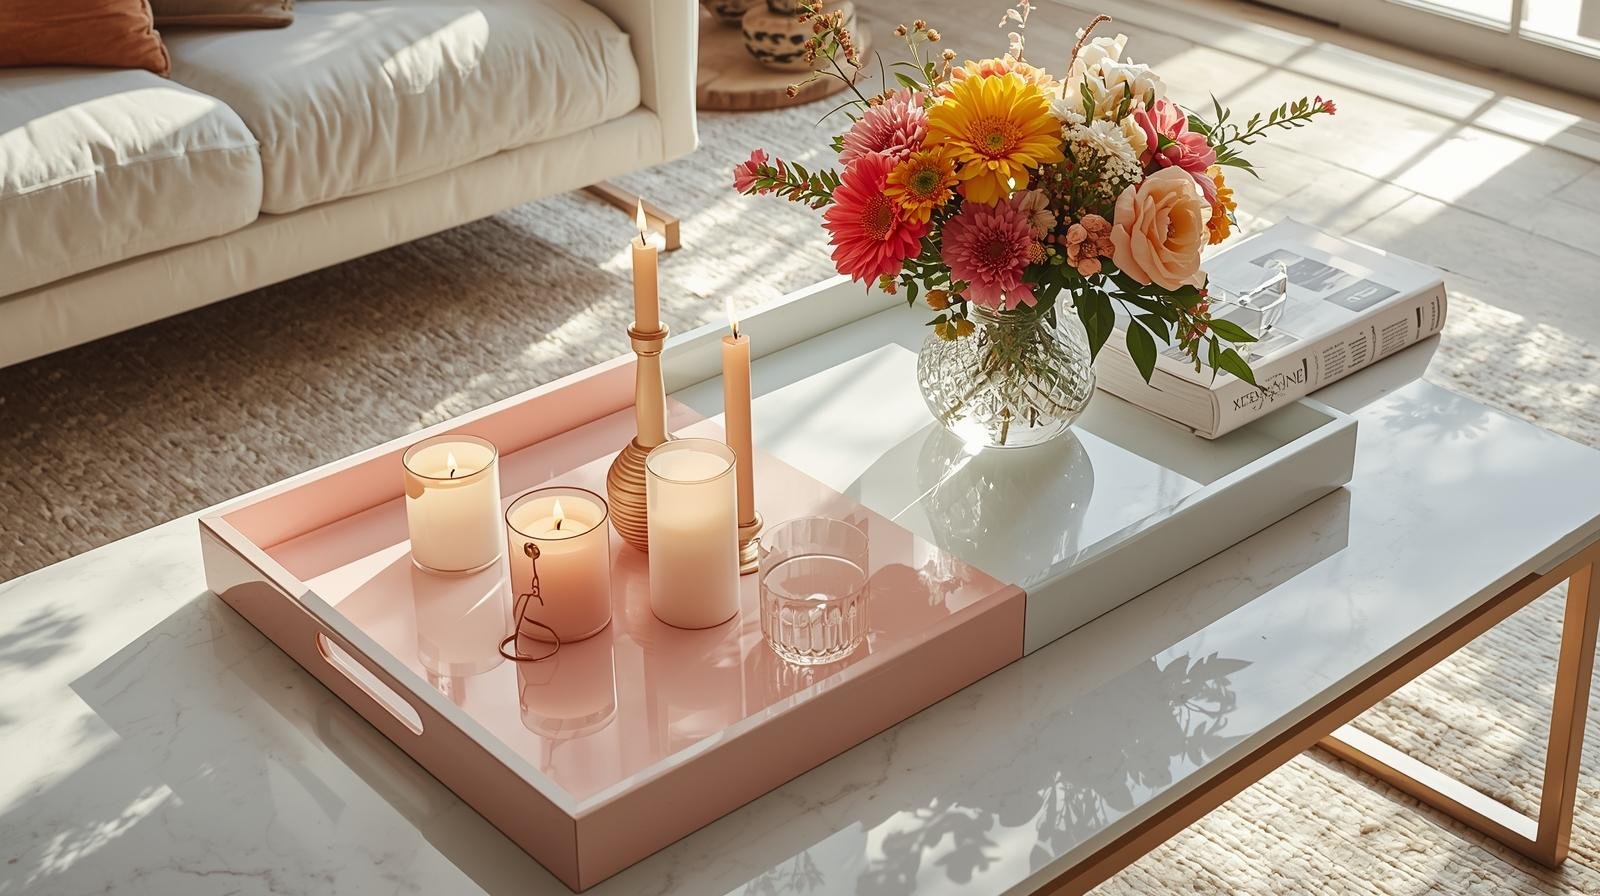
Step 11: Style your new tray
Have fun styling your new tray!