Weathered industrial metal can be a great gorgeous accent for your home or business. But it’s hard to work with metal and can be even harder to find some with that beautiful patina. A simple, cheap alternative is to give paper (yes, paper!) a faux vintage metal paint job.
For less than $20, you can create a large letter for a pretty focal decor piece or make several letters to create a word with special meaning in your home or store. You don’t even need any special tools and you have complete control over the coloring.
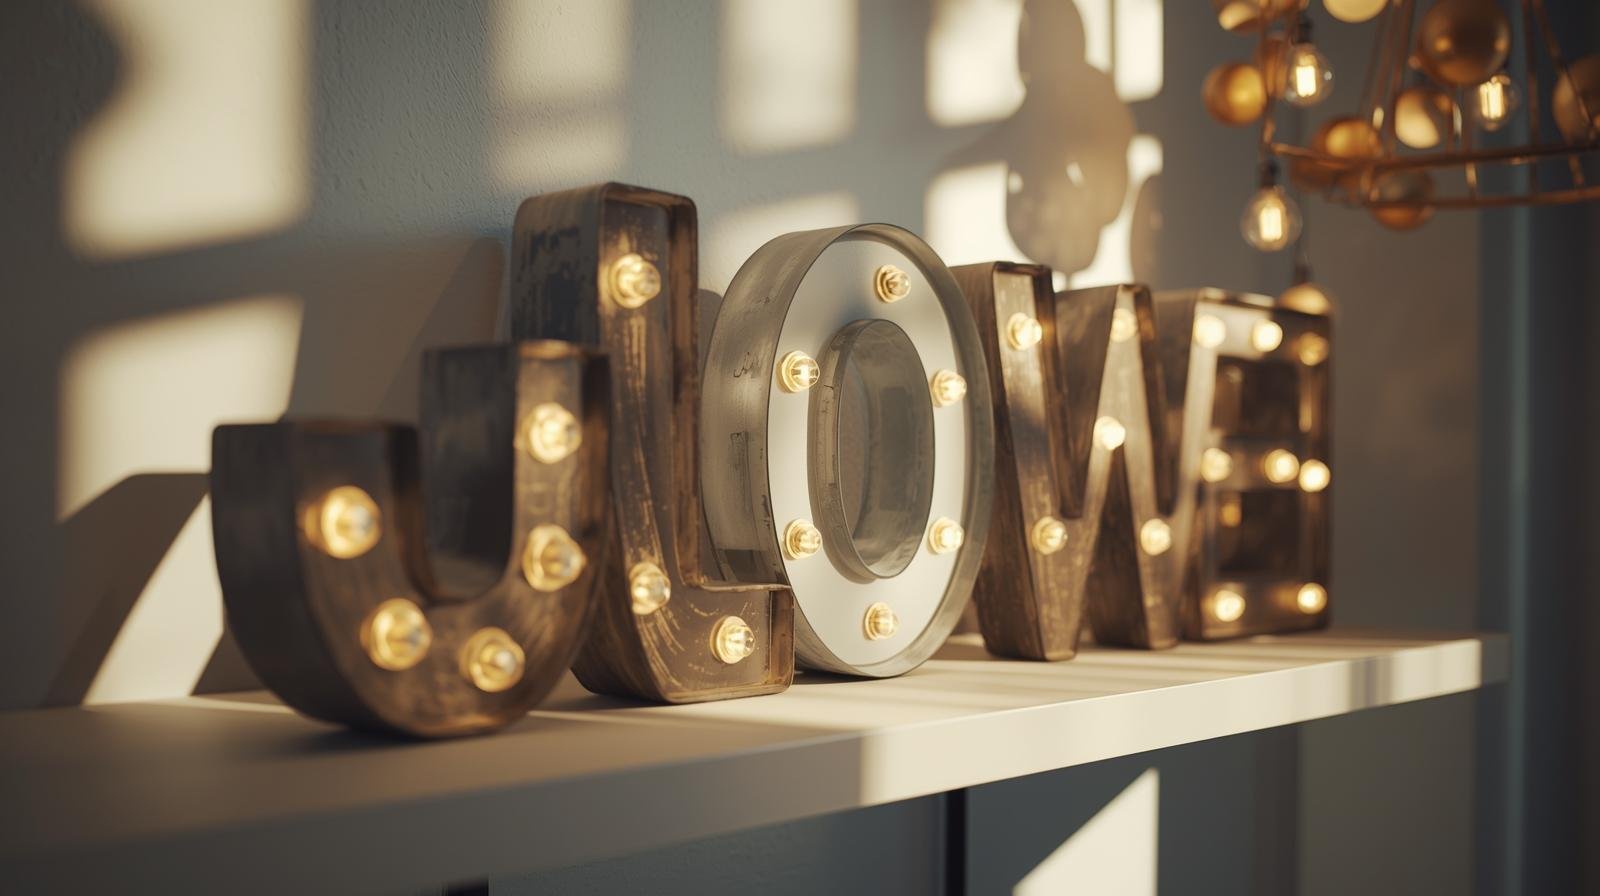
Clear globe lights are about the only cost (and weight) associated with this project and they’re easy to find in most big box stores and online. In just a few hours, you can have this gorgeous light that will look like it spent years achieving that weathered look.
Step 1: Create the Outline of the Letter
Your letter can be drawn free-hand, but using a photo editing program will give you more consistent results. Choose a font you like and open your program of choice.
Decide how big you’d like your letter to be, and then open a canvas that size. Type whatever letter you want to use and fill that letter to the full size of your canvas. This letter is about 26.5 inches by 24 inches. Put a stroke around your letter and then change its fill opacity to 0%. Using just an outline for your letter will save a lot of ink.
Now divide your canvas into smaller letter-paper-size canvases by cropping your canvas to about 8 inches by 11 inches and then save that as an image. Now undo that crop and crop your canvas to those measurements again but on a different part of the canvas and then save that. Continue doing this until you’ve created an image for every part of your letter. Overlap your crops just a little bit to make sure you get the whole letter.
Some crops can be portrait and others can be landscape, whatever is the most efficient for your letter.
Step 2: Print and Trace the Letter
Print all your pages and cut out the letter. Spread the pieces of your letter out on your foam board(s) and then trace to get your letter shape.
Trace with light pencil marks so you don’t pierce or disfigure your board.
Step 3: Cut the Letter Out of the Foam Board
Use a craft knife to cut your traced letter out of the foam board. Hang it off the edge of your work surface or cut on top of carpet for easiest results.
Step 4: Mark the Light Holes
Determine how many lights your letter will have and where each will go. To do this, find the center of each stem of your letter (the long, vertical section) and mark a light line. Mark spots along this line equidistant from each other. If your light will have only one row of lights, these marks will be the placement of those lights . If you’ll be using two rows of lights (like the left hand side of our letter), measure out from each mark the same distance to the right and to the left.
For the serifs (planks on top of the letter) measure to the middle and then determine how many lights you’ll place there (2 and 3 shown here) then measure out from that mark equally to determine those light placements.
Use the board that your lights came with as a guide to mark circles over each of these marks.
Step 5: Cut Out The Holes
Using a craft knife, remove each of these holes. These holes will be mostly covered, so they don’t need to be perfect.
Step 6: Cut Strips for the Sides
Cut strips of poster board the width you’d like the sides of your letter to be. The sides of this letter are 5 inches. Make strips wide enough to cover the bulbs and the wires in back.
Then, mark a line on these strips to use as a guide when gluing your sides to the letter. One side should be slightly wider than the other side. The guide used on this letter is at 3 inches.
Step 7: Fold and Attach Sides
Using a hot glue gun, begin to attach your sides to your letter, using the line you drew on it as a guide. Use a small amount of glue so it doesn’t squeeze out onto the front.
Mark where your folds will go so you can get crisp lines.
Using a bone folder or scoring tool, you’ll get the most precise and clean folds around your letter. To do this, either measure each portion of your letter to a corner and then mark this on your strip. Then score this line, fold along it and glue the strip to the letter. Or, hold your sides up to your letter and then mark on it where the corner meets it then score, fold and attach.
Step 8: Paint a Base Coat
Give your letter several coats of flat black paint. Spray paint is easiest and quickest. Cover your work space and allow it time to fully dry.
Step 9: Give it a Faux Metal Look
To give the letter a faux weathered metal look, first give your letter a light gray wash. To do this, combine gray craft paint with water: 1 part paint to 2 parts water. Lightly paint this over your letter in varying strokes. Then take a dry rag or paper towel and rub these strokes till they’re only faintly visible.
Now go back over your letter with just the gray paint to provide more weathering. Use a dry brush and lightly dab it into your paint, and then dab this onto a rag so there is only a light amount of paint left on the brush. Now lightly stroke this across your letter using short, varying strokes.
Now dip a small paintbrush into your rust colored paint. Paint this into the corners and edges of your letter. You don’t need to do all the edges, just try to represent real rusting by putting it in varying places of the letter. Twisting your brush as you go and brushing some of it further out onto the letter will give it a more real look. Also take this color around your letter in random places and lightly smudge it.
Step 10: Affix Lights and Hang
Place your cord behind the light and screw the lights in through the holes.
To hang your letter, either attach screws or nails to your hanging surface and hang the letter over them or attach strings to the hooks behind each light and hang these to the nails. This letter is super lightweight so it doesn’t need much to keep it up.
Now you’ve made a gorgeous faux metal marquee light in lightweight materials that are super easy to find for a fraction of the cost you would have spent to make this letter from real metal or even wood.